User Management
User Management in SimpleBillBook allows you to create and manage user accounts, assign roles with specific permissions, and control who has access to different modules in your organization. This helps maintain security, ensure data integrity, and delegate responsibilities appropriately across your team.
Overview of User Management
User Management helps you:
- Create User Accounts: Add team members to the system with unique login credentials
- Assign Roles: Control what each user can access and do based on their job function
- Manage Permissions: Grant view, create, edit, or delete access to specific modules
- Maintain Security: Ensure only authorized personnel can perform critical actions
- Track Activity: Know who performed specific actions through audit logs
Viewing Users
To view all users in your organization:
- Navigate to Manage Users → Users from the main sidebar
- You'll see a table listing all user accounts
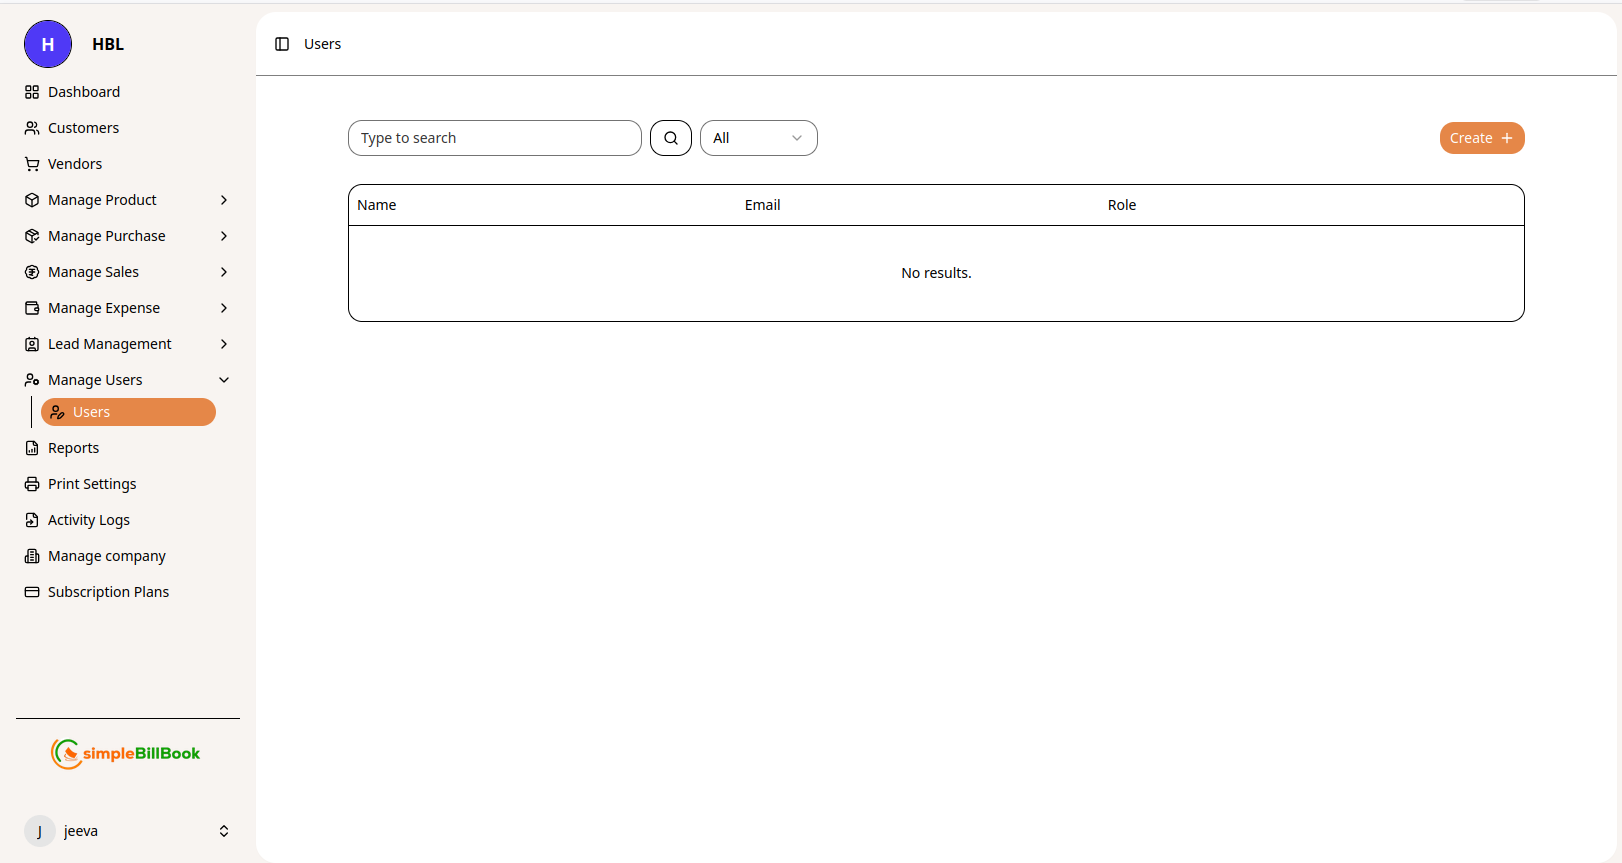 Figure 1: Users list showing all user accounts with search functionality
Users Table Columns
| Column | Description |
|---|---|
| Name | Full name of the user |
| User's email address (used for login) | |
| Role | Assigned role determining permissions |
Creating a New User
Step 1: Access User Creation
From the users page, click the Create button to open the user creation form.
Step 2: Fill User Details
 Figure 2: Form for creating new users with role previews
Required Information:
| Field | Required | Description |
|---|---|---|
| Name | ✅ Yes | User's full name |
| ✅ Yes | Email address for login and notifications | |
| Password | ✅ Yes | Secure password for account access |
| Role | ✅ Yes | Select from available roles |
Step 3: Assign Role
Select an appropriate role from the dropdown. The role determines what permissions the user will have.
Step 4: Save User
Click Save to create the user account. The user will receive login credentials based on your configuration.
Role Previews and Permissions
SimpleBillBook comes with predefined roles that match common business functions. Each role has specific permissions tailored to job responsibilities.
Available Roles
👨💼 Salesman
Permission Level: View + Create
Access to Modules:
- ✅ Customers
- ✅ Products
- ✅ Expenses
- ✅ Sales
- ✅ Quotation
Best for: Sales representatives who need to create customers, products, expenses, sales transactions, and quotations.
👔 Sales Manager
Permission Level: View + Create + Edit
Access to Modules:
- ✅ Customers
- ✅ Products
- ✅ Expenses
- ✅ Sales
- ✅ Credit Note
- ✅ Quotation
- ✅ Sale Order
Best for: Sales team leads who need to review and modify records created by team members, including credit notes and sale orders.
📦 Stock Manager
Permission Level: View + Create + Edit
Access to Modules:
- ✅ Purchases
- ✅ Vendors
- ✅ Products
- ✅ Stocks
- ✅ Stock Adjust
- ✅ Purchase Order
- ✅ Debit Note
Best for: Warehouse or inventory managers responsible for stock levels, purchases, inventory adjustments, purchase orders, and debit notes.
🏢 Store Manager
Permission Level: Almost Full Control
Description: Complete access to all modules including settings, users, and reports. Limited admin privileges.
Access to Modules:
- ✅ All business modules (Sales, Purchases, Inventory, Expenses)
- ✅ Reports
- ⚠️ Limited admin privileges
- ⚠️ User management (View only)
Best for: Store managers who need comprehensive access to all business operations but limited administrative privileges.
Permission Levels Explained
| Level | Description |
|---|---|
| View | Can see records but cannot create, modify, or delete |
| Create | Can add new records |
| Edit | Can modify existing records |
| Delete | Can remove records |
| Full Control | All permissions including delete |
Default Roles Summary
| Role | Permissions | Access To | Best For |
|---|---|---|---|
| Salesman | View + Create | Customers, Products, Expenses, Sales, Quotation | Sales representatives |
| Sales Manager | View + Create + Edit | Customers, Products, Expenses, Sales, Credit Note, Quotation, Sale Order | Sales team leads |
| Stock Manager | View + Create + Edit | Purchases, Vendors, Products, Stocks, Stock Adjust, Purchase Order, Debit Note | Warehouse managers |
| Store Manager | Almost Full Control | All modules, Reports, limited admin | Store operations managers |
| Admin | Full system access | All modules, Users, Settings | System administrators |
Best Practices for User Management
1. Principle of Least Privilege
- Grant only the permissions users need to perform their jobs
- Start with restrictive roles and add permissions as needed
- Regularly review and revoke unnecessary access
2. Role-Based Assignment
- Match roles to actual job functions
- Use the predefined roles as starting points
- Create custom roles only when necessary
3. Regular Audits
- Review user accounts quarterly
- Remove users who have changed roles or left the organization
- Verify permissions align with current responsibilities
4. Secure Authentication
- Enforce strong password policies
- Encourage regular password updates
- Use two-factor authentication for sensitive roles
5. Documentation
- Maintain a user-role matrix
- Document approval processes for new accounts
- Keep records of access reviews
Common Scenarios
Scenario 1: New Sales Representative Joins
Solution:
- Click Create button
- Enter name, email, and temporary password
- Select Salesman role
- Save - user gets appropriate permissions immediately
Scenario 2: Promoting a Salesperson to Manager
Solution:
- Find the user in the users list
- Click Edit
- Change role from Salesman to Sales Manager
- Save - permissions update instantly
Scenario 3: Hiring a Warehouse Manager
Solution:
- Click Create button
- Enter user details
- Select Stock Manager role
- User gets full inventory, purchase, and stock adjustment access
Scenario 4: Hiring a Store Manager
Solution:
- Click Create button
- Enter user details
- Select Store Manager role
- User gets comprehensive access to all business operations
Scenario 5: Temporary Staff Member
Solution:
- Create account with minimal permissions
- Set a strong temporary password
- Instruct user to change password on first login
- Deactivate account when contract ends