கணக்கு அமைப்பு
இந்த வழிகாட்டி, உங்கள் கணக்கை உருவாக்குவது முதல் உங்கள் முதல் நிறுவனத்தை அமைப்பது வரை முழுமையான கணக்கு அமைப்பு செயல்முறையை விளக்குகிறது. சில நிமிடங்களில் SimpleBillBook-ஐ பயன்படுத்தத் தொடங்குங்கள்!
கண்ணோட்டம்
SimpleBillBook என்பது இந்தியாவின் சிறிய வணிகங்களுக்கான மிகவும் எளிய இன்வாய்சிங் மென்பொருள் ஆகும். எங்கள் அனைத்தும் ஒரே இடத்தில் கிடைக்கும் தளம் உங்களுக்கு உதவுகிறது:
- ✅ விற்பனை & இன்வாய்சிங் - தொழில்முறை இன்வாய்ஸ்களை உருவாக்குங்கள்
- ✅ கொள்முதல் மேலாண்மை - விற்பனையாளர் பரிவர்த்தனைகளை கண்காணிக்கவும்
- ✅ இன்வென்டரி - பங்கு நிலைகளை நேரடியாக கண்காணிக்கவும்
- ✅ செலவுகள் - வணிக செலவுகளை பதிவு செய்து வகைப்படுத்தவும்
- ✅ வாடிக்கையாளர் உறவுகள் - உங்கள் வாடிக்கையாளர் தரவுத்தளத்தை நிர்வகிக்கவும்
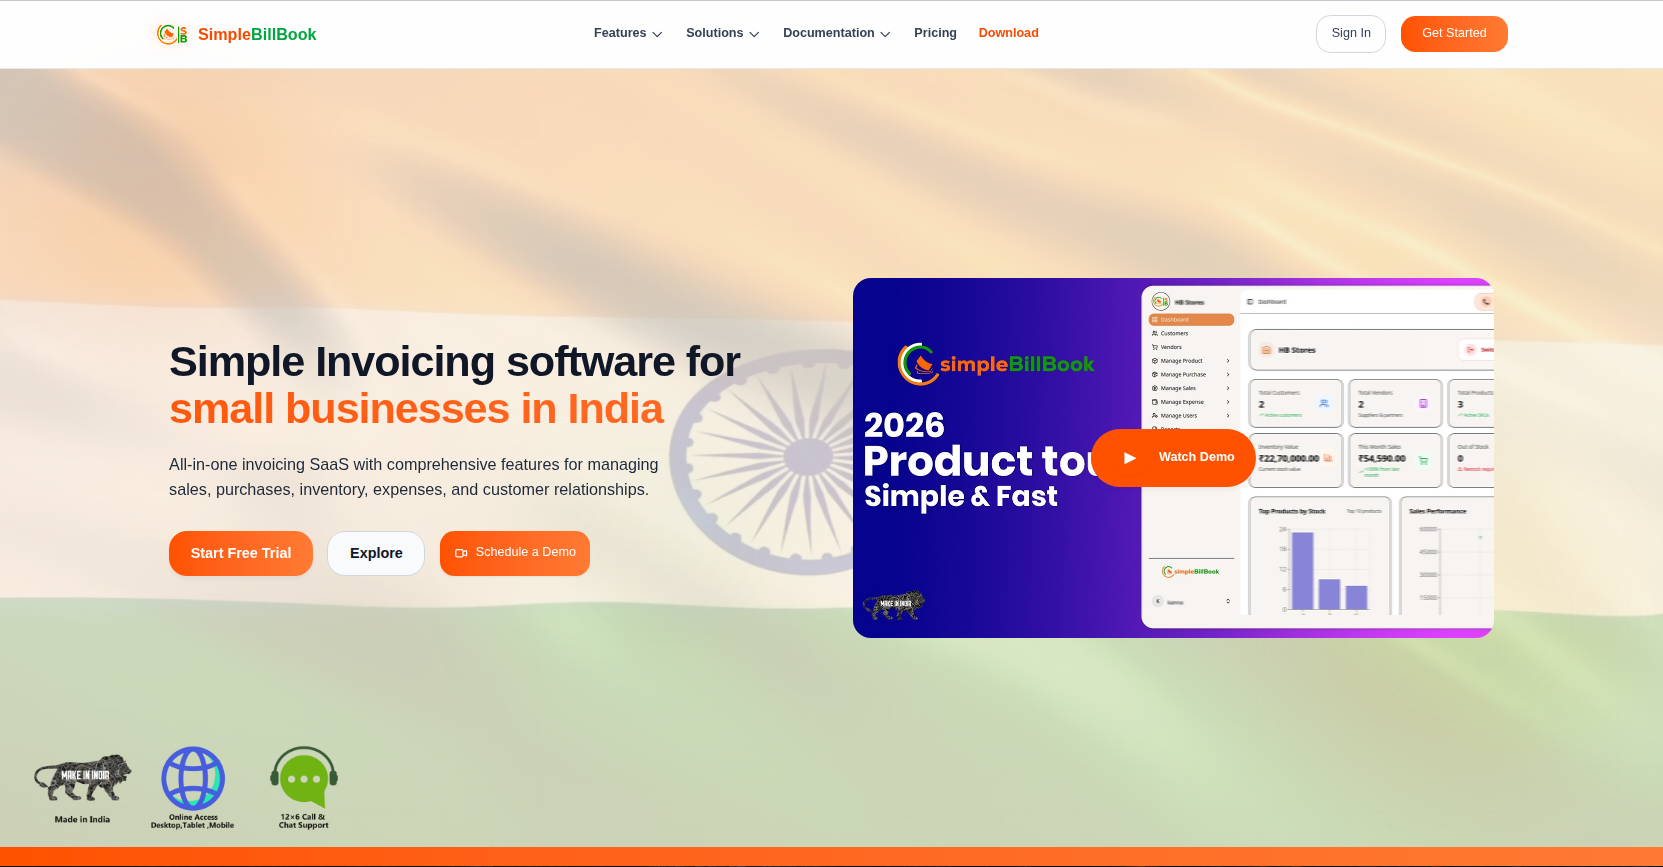 படம் 1: இந்திய சிறிய வணிகங்களுக்கான அனைத்தும் ஒரே இடத்தில் கிடைக்கும் இன்வாய்சிங் தீர்வு
படி 1: உங்கள் கணக்கை உருவாக்கவும்
பதிவு பக்கத்தை அணுகவும்
முகப்பு பக்கத்தின் மேல் வலது மூலையில் உள்ள "Get Started" பொத்தானைப் பாருங்கள். அதை கிளிக் செய்தால் கணக்கு உருவாக்கும் பக்கத்திற்கு செல்லலாம்.
➡️ பதிவு செய்ய இந்த படிகளைப் பின்பற்றவும்:
பதிவு படிவத்தை நிரப்பவும்
 படம் 2: தேவையான புலங்களைக் கொண்ட கணக்கு உருவாக்கும் படிவம்
தேவையான தகவல்கள்:
| புலம் | விளக்கம் | உதாரணம் |
|---|---|---|
| பெயர் | உங்கள் முழுப் பெயர் | Jeeva |
| மின்னஞ்சல் முகவரி | உள்நுழைவதற்கான சரியான மின்னஞ்சல் | jeeva@example.com |
| கடவுச்சொல் | பாதுகாப்பான கடவுச்சொல் | •••••••• |
| மொபைல் எண் | செல்லுபடியாகும் மொபைல் எண் | xxxxxxxxxx |
| கடவுச்சொல்லை உறுதிப்படுத்தவும் | உங்கள் கடவுச்சொல்லை மீண்டும் உள்ளிடவும் | •••••••• |
கடவுச்சொல் தேவைகள்:
- குறைந்தது 8 எழுத்துகள்
- எழுத்துகள் மற்றும் எண்களின் கலவை
- குறைந்தது ஒரு சிறப்பு எழுத்து பரிந்துரைக்கப்படுகிறது
பதிவை சமர்ப்பிக்கவும்
பதிவை சமர்ப்பிக்க Verify என்பதை கிளிக் செய்யவும். விரைவில் ஒரு OTP (ஒருமுறை கடவுச்சொல்) கிடைக்கும்.
படி 2: உங்கள் மொபைல் எண்ணை சரிபார்க்கவும்
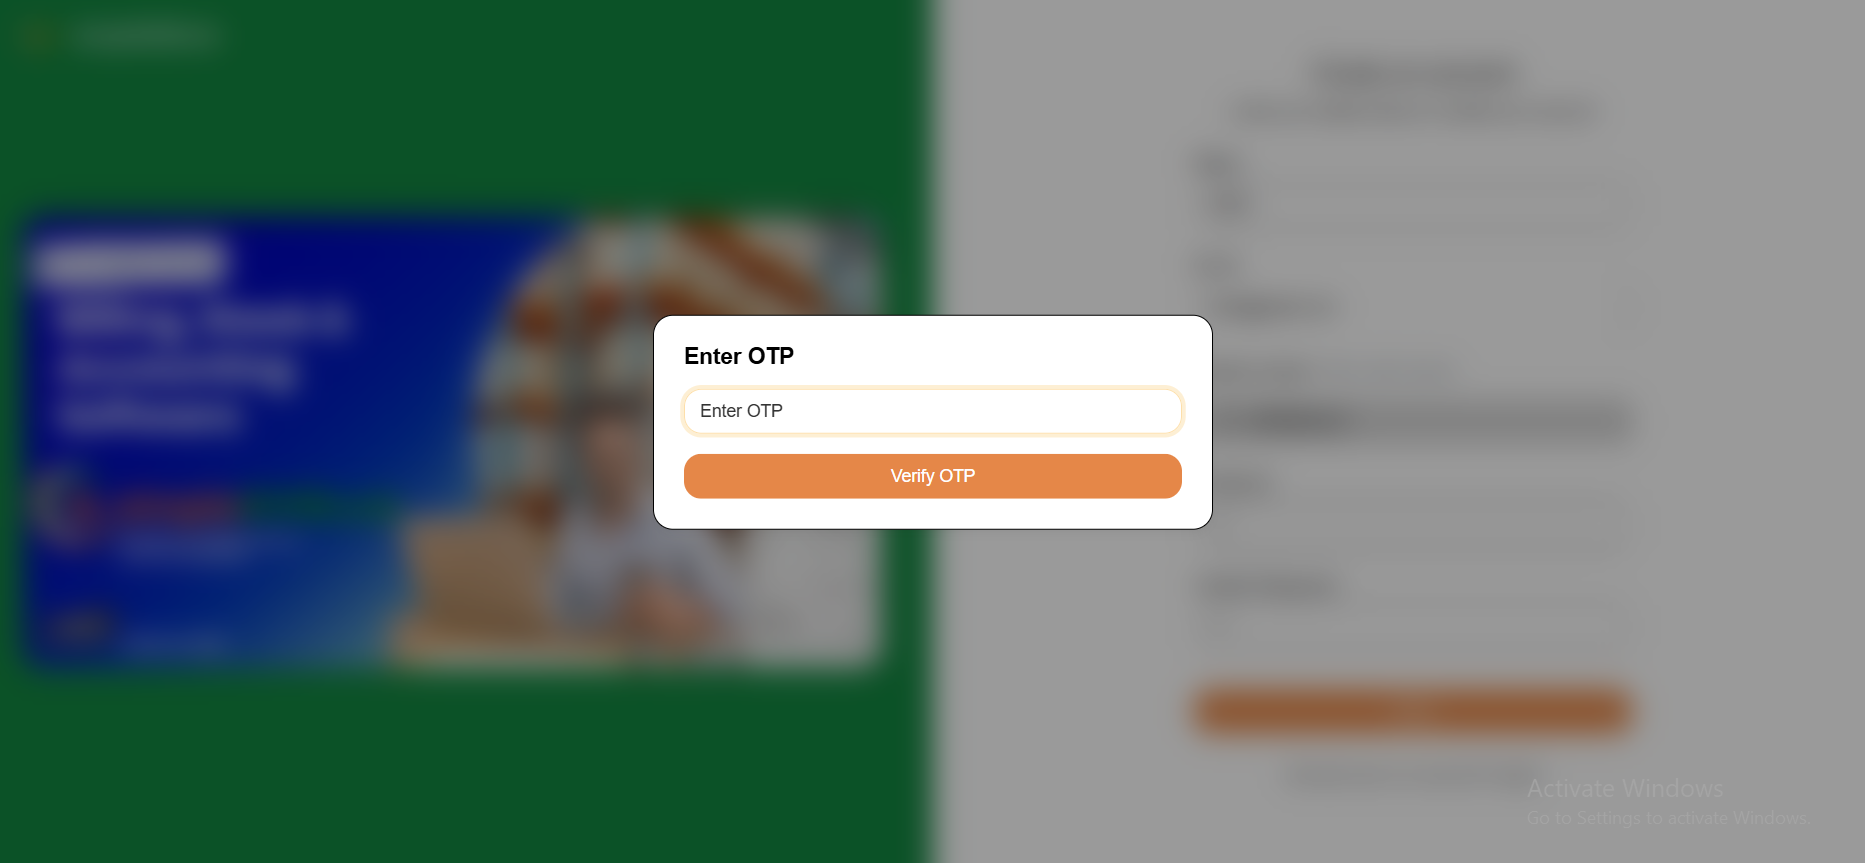 படம் 3: மொபைல் எண் சரிபார்ப்பு பக்கம்
பதிவுக்குப் பிறகு, நீங்கள் OTP சரிபார்ப்பு திரைக்கு மாற்றப்படுவீர்கள்.
இந்தப் பக்கத்தில்:
- உங்கள் பதிவு செய்யப்பட்ட மொபைல் எண்ணிற்கு அனுப்பப்பட்ட OTP (ஒருமுறை கடவுச்சொல்) ஐ உள்ளிடவும்.
- சரிபார்ப்பை முடிக்க Verify OTP பொத்தானைக் கிளிக் செய்யவும்.
- OTP காலாவதியாகும் முன் அதை உள்ளிடுவதை உறுதிசெய்யவும்.
OTP கிடைக்கவில்லையா?
- உங்கள் மொபைல் நெட்வொர்க் இணைப்பைச் சரிபார்க்கவும்
- செய்தி வர சில நிமிடங்கள் காத்திருக்கவும்
- புதிய சரிபார்ப்பு குறியீட்டை பெற Resend OTP ஐ கிளிக் செய்யவும்
தவறான மொபைல் எண்ணை உள்ளிட்டீர்களா?
- உள்நுழைவு பக்கத்திற்கு திரும்ப Logout பொத்தானைப் பயன்படுத்தி, சரியான மொபைல் எண்ணுடன் மீண்டும் பதிவு செய்யவும்
⚠️ முக்கியம்: பயன்பாட்டை அணுகுவதற்கு முன் OTP மூலம் உங்கள் மொபைல் எண்ணை சரிபார்க்க வேண்டும்.
படி 3: வரவேற்பு டாஷ்போர்டு
மொபைல் எண் சரிபார்ப்புக்குப் பிறகு, நீங்கள் வரவேற்பு டாஷ்போர்டைப் பார்ப்பீர்கள்:
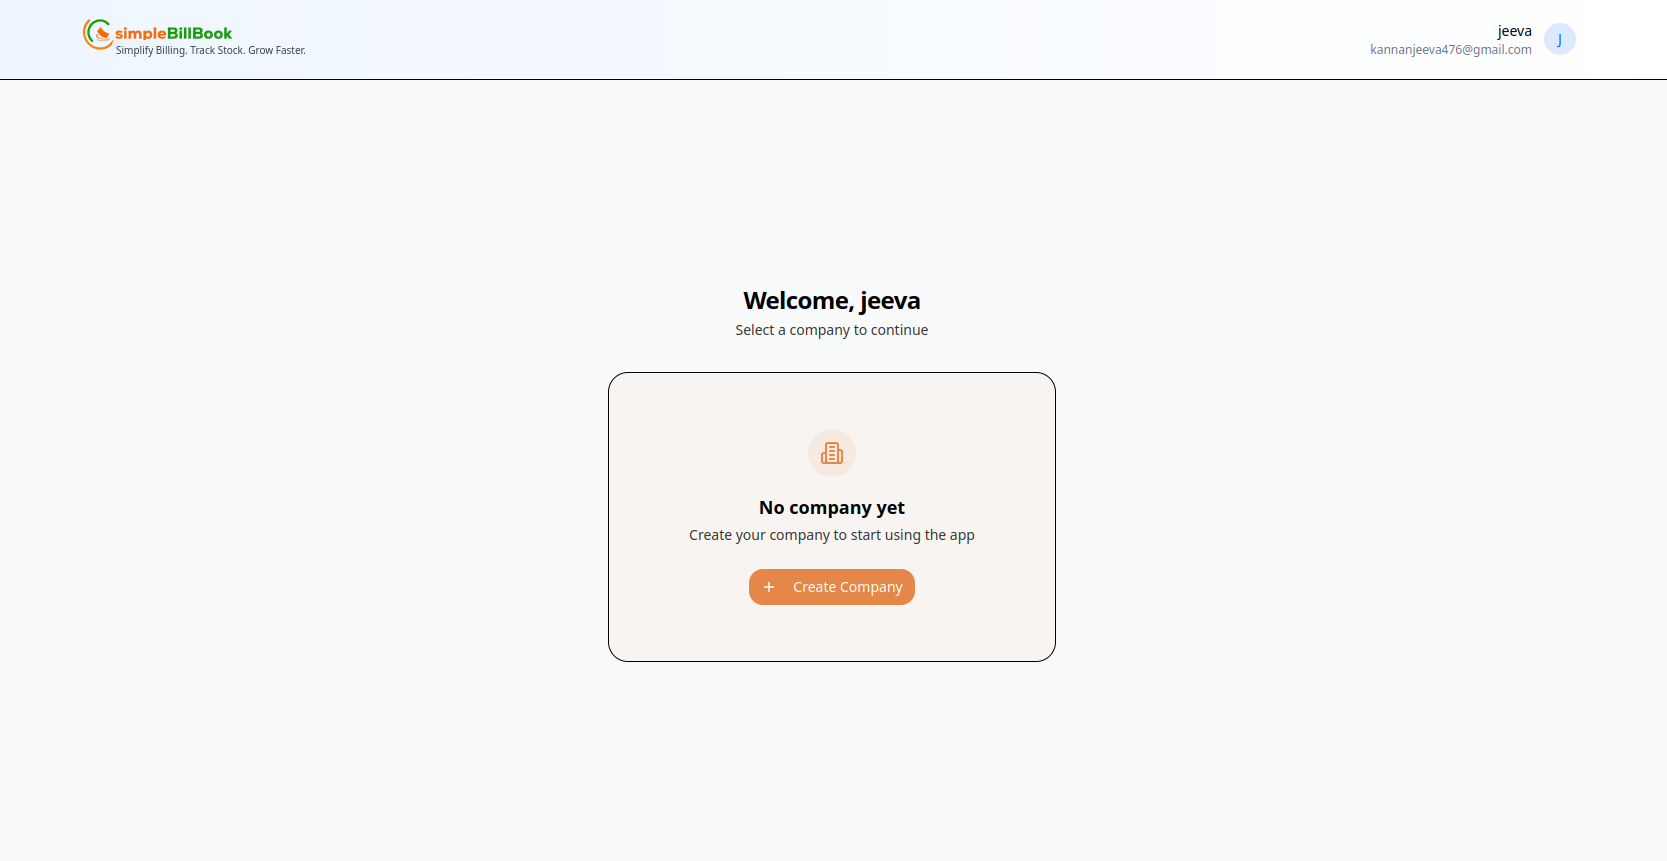 படம் 4: நிறுவனம் தேர்வு காட்டும் வரவேற்பு திரை
நீங்கள் பார்க்கப் போவது:
| கூறு | விளக்கம் |
|---|---|
| வரவேற்பு செய்தி | உங்கள் பெயருடன் தனிப்பயனாக்கப்பட்ட வாழ்த்து |
| நிறுவன நிலை | புதிய பயனர்களுக்கு "No company yet" |
| செயல் பொத்தான் | தொடங்க Create Company |
| பயனர் மின்னஞ்சல் | உங்கள் பதிவு செய்யப்பட்ட மின்னஞ்சல் முகவரி காட்டப்படும் |
வாசகம்
"Simply Billing. Track Stock. Grow Faster." - உங்கள் SimpleBillBook பயணம் இங்கே தொடங்குகிறது!
படி 4: உங்கள் முதல் நிறுவனத்தை உருவாக்கவும்
நிறுவனம் உருவாக்கும் பகுதியை அணுகவும்
உங்கள் வணிக சுயவிவரத்தை அமைக்க Create Company பொத்தானைக் கிளிக் செய்யவும்.
நிறுவன விவரங்களை நிரப்பவும்
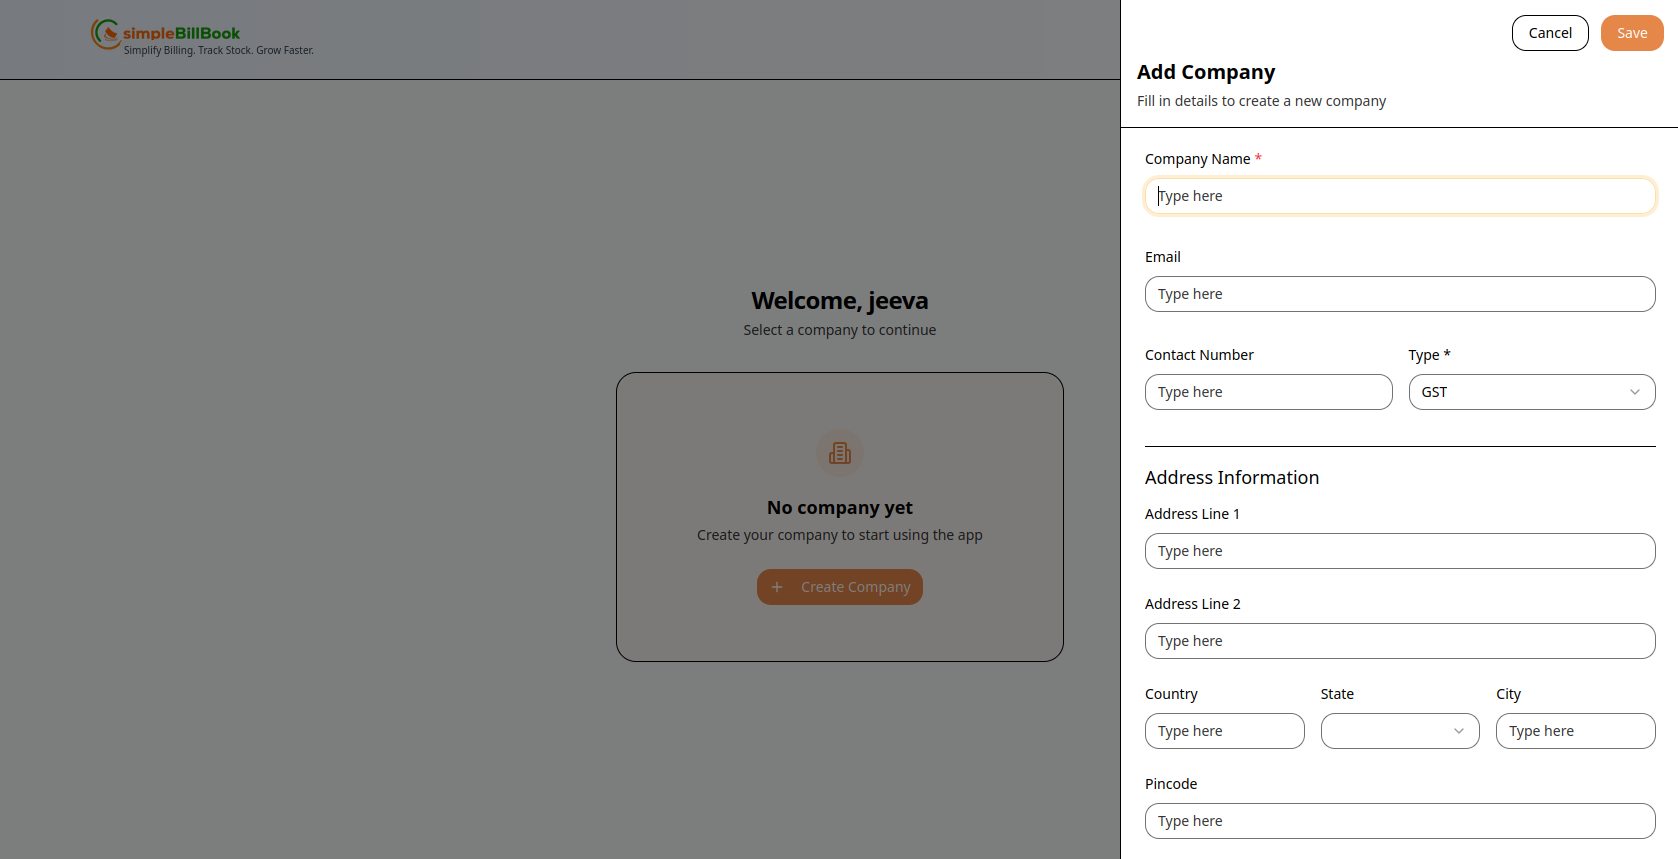 படம் 5: முழுமையான நிறுவனம் உருவாக்கும் படிவம்
தேவையான தகவல்கள்:
| பகுதி | புலம் | அவசியம் | விளக்கம் |
|---|---|---|---|
| அடிப்படை தகவல் | நிறுவனத்தின் பெயர் | ✅ ஆம் | உங்கள் வணிகத்தின் சட்டபூர்வ பெயர் |
| மின்னஞ்சல் | ❌ இல்லை | வணிக தொடர்பு மின்னஞ்சல் | |
| தொடர்பு எண் | ✅ ஆம் | வகை தேர்வுடன் தொலைபேசி எண் | |
| GST | ❌ இல்லை | GST அடையாள எண் |
முகவரி தகவல்:
| புலம் | அவசியம் | விளக்கம் |
|---|---|---|
| முகவரி வரி 1 | ❌ இல்லை | முக்கிய தெரு முகவரி |
| முகவரி வரி 2 | ❌ இல்லை | அபார்ட்மெண்ட், சூயிட் அல்லது அடையாளம் |
| நாடு | ❌ இல்லை | பட்டியலில் இருந்து தேர்வு செய்யவும் |
| மாநிலம் | ✅ ஆம் | பட்டியலில் இருந்து தேர்வு செய்யவும் |
| நகரம் | ❌ இல்லை | நகரத்தின் பெயரை உள்ளிடவும் |
| அஞ்சல் குறியீடு | ❌ இல்லை | அஞ்சல் / ZIP குறியீடு |
| GST எண் | ❌ இல்லை | உதா., 07AABCU9603R1ZM |
| PAN எண் | ❌ இல்லை | உதா., ABCDE1234F |
| வங்கி பெயர் | ❌ இல்லை | வங்கியின் பெயர் |
| கணக்கு எண் | ❌ இல்லை | வங்கி கணக்கு எண் |
| IFSC குறியீடு | ❌ இல்லை | இந்திய நிதி அமைப்பு குறியீடு |
| Latitude | ❌ இல்லை | உதா., 13.0827 |
| Longitude | ❌ இல்லை | உதா., 80.2707 |
| நிறுவன லோகோ | ❌ இல்லை | லோகோ கோப்பைப் பதிவேற்றவும் |
படிவ செயல்கள்
| பொத்தான் | செயல் |
|---|---|
| Save | நிறுவன விவரங்களைச் சேமித்து தொடரவும் |
| Cancel | மாற்றங்களை ரத்து செய்து திரும்பவும் |
💡 குறிப்பு: தொடங்குவதற்கு நிறுவனத்தின் பெயர், தொடர்பு எண், GST வகை மற்றும் மாநிலம் மட்டும் அவசியம். மற்ற விவரங்களை பின்னர் சேர்க்கலாம்!
படி 5: உங்கள் நிறுவனத்தைத் தேர்ந்தெடுக்கவும்
நிறுவனத்தை உருவாக்கிய பிறகு, நிறுவனம் தேர்வு திரையைப் பார்ப்பீர்கள்:
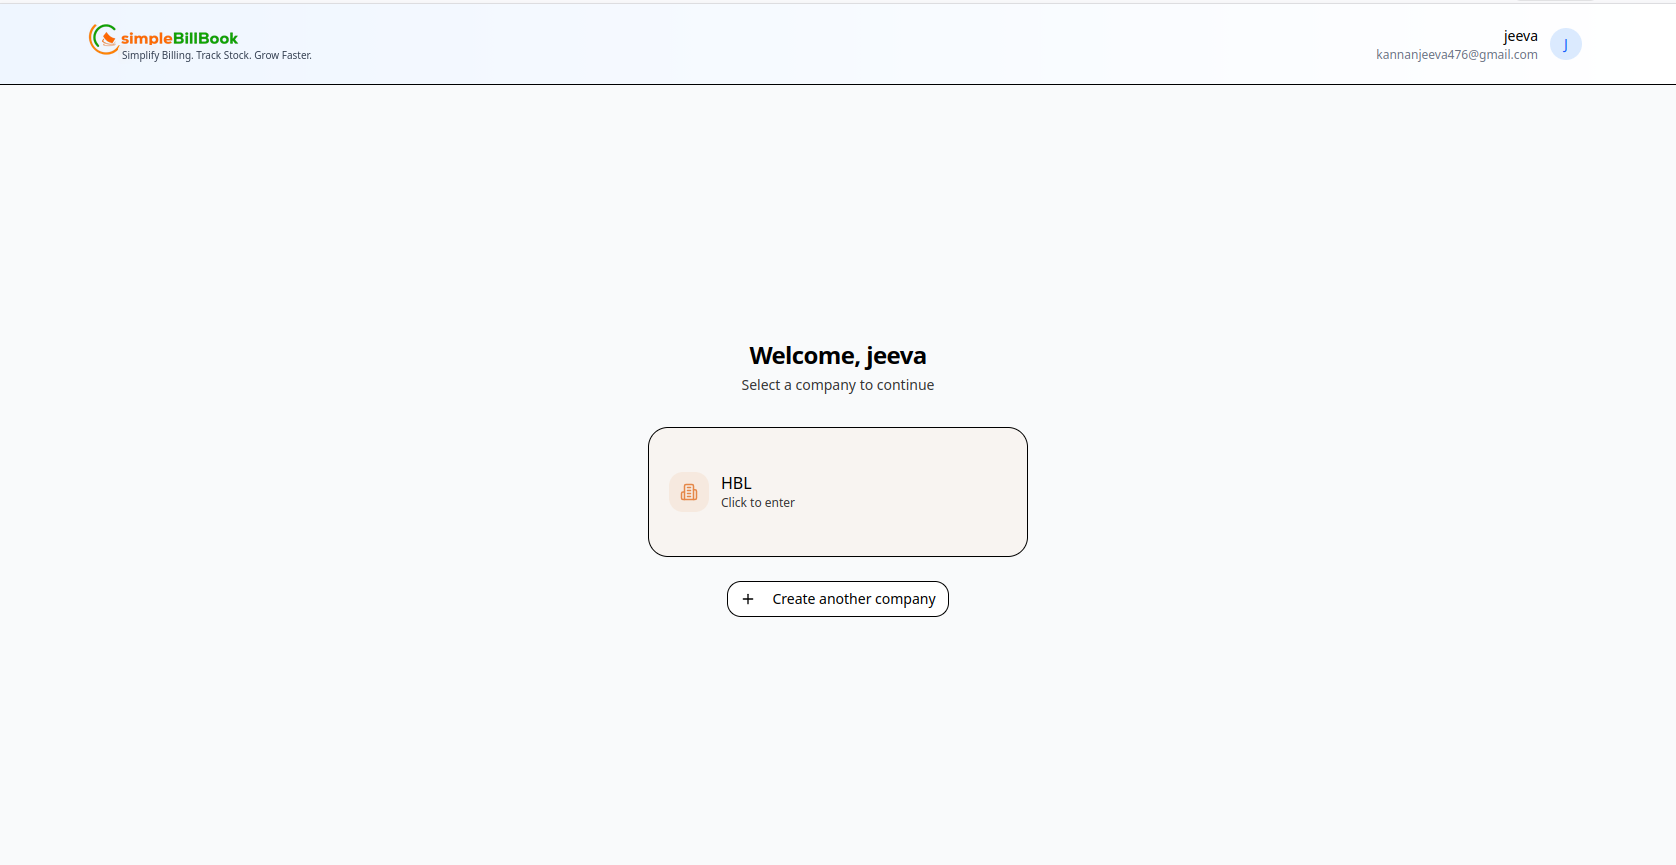 படம் 6: டாஷ்போர்டிற்குள் செல்ல உங்கள் நிறுவனத்தைத் தேர்ந்தெடுக்கவும்
உங்கள் நிறுவனம் டாஷ்போர்டு காட்டுவது:
- வரவேற்பு செய்தி: "Welcome, jeeva"
- வழிமுறை: "Select a company to continue"
- நிறுவன அட்டை: நீங்கள் உருவாக்கிய நிறுவனம் (எ.கா., HBL)
- செயல்: நிறுவன பணிப்பகுதிக்குள் செல்ல கிளிக் செய்யவும்